There’s a reason professional photographers spend half their budget on light. Cameras, lenses, tripods — you can acquire all of that gradually. But light? Light decides whether an image works or not. No filter, no preset and no expensive lens can save bad light. Good light, on the other hand, turns even a mid-range smartphone into a serious tool.
This post shows you how to get significantly better results with very little money and a bit of knowledge — concrete, no buzzword-bingo, no pushing equipment on you that you don’t need. And the best part: every tip here applies equally to photos and videos. Good light is good light — whether you’re hitting the shutter or pressing record.
The best light costs nothing: natural daylight
The most common beginner mistake: shooting at night under artificial light because it feels more private. Understandable — but terrible for lighting. Natural daylight is diffuse, soft, colour-accurate and above all: free. It flatters skin tones in a way no 40-euro ring light can replicate.

The four most important rules for daylight
1. Light comes from the side — not from behind.
This sounds obvious, but it’s the most common beginner mistake by far. Standing in front of a window and photographing yourself turns you into a silhouette: the phone “sees” the bright window in the background and underexposes everything else. The fix is simple — turn around. The window should be behind the camera or slightly to the side, not behind you.
2. Overcast day = natural softbox.
Direct sunlight creates harsh shadows and blows out skin tones. On a lightly overcast day, clouds filter the sun — the result is even, diffuse light that looks professional. Photographers and filmmakers love this light. It’s literally the same principle as an expensive softbox — just delivered by nature.
3. Golden hour — with care.
The hour after sunrise and before sunset delivers warm, dramatic light that can look beautiful in photos. The catch: it’s orange-tinted, short-lived and hard to judge on a smartphone screen. A valuable tool for experienced creators — but for beginners, soft midday light on overcast days is the safer starting point.
4. Ceiling lights off — always.
Light from directly above creates deep shadows under eyes, nose and chin — the effect horror films use deliberately. When shooting in daylight, switch off all ceiling lights. Two different light sources simultaneously — sun and light bulb — also produce colour casts on skin that are hard to correct in post.
Three lighting mistakes that instantly ruin your shots
Before we talk equipment: these three mistakes cost you more than any upgrade.
⚠ Common mistakes
Mistake 1: Mixed light sources. Daylight is cool-blue, incandescent bulbs are warm-orange, LED panels can be either. Using two sources at the same time creates unnatural colour casts on skin. Rule: either daylight only (artificial lights off) or artificial only (blinds down). Never both together.
Mistake 2: Too much light, placed wrong. Two ring lights directly from the front are worse than one placed slightly to the side. Frontal light flattens faces and bodies — no depth, no contour. Light from a slightly lateral angle traces body shapes and always looks more interesting.
Mistake 3: Letting auto-exposure run unchecked. Your smartphone constantly readjusts exposure — often at exactly the wrong moment. Fix: press and hold your finger on the screen until the lock symbol appears. Focus and exposure are now fixed.
Budget equipment that actually makes a difference
Once you’ve made the most of natural light, or want to be independent of time of day and weather, a few targeted purchases are worth it. Here’s an honest assessment — no affiliate links.
Ring light (€20–50)
The most well-known creator tool — and for good reason. It delivers even, diffuse front light and creates the characteristic catch light in the eyes. Key things to check when buying: tripod and phone mount included, minimum 26 cm diameter (40 cm is better). Models under €20 often have poor colour accuracy. Better to spend €35–45 once.
What a ring light can’t do: It flattens images because it lights purely from the front. For more depth, position the ring light slightly to the side rather than directly behind the camera.
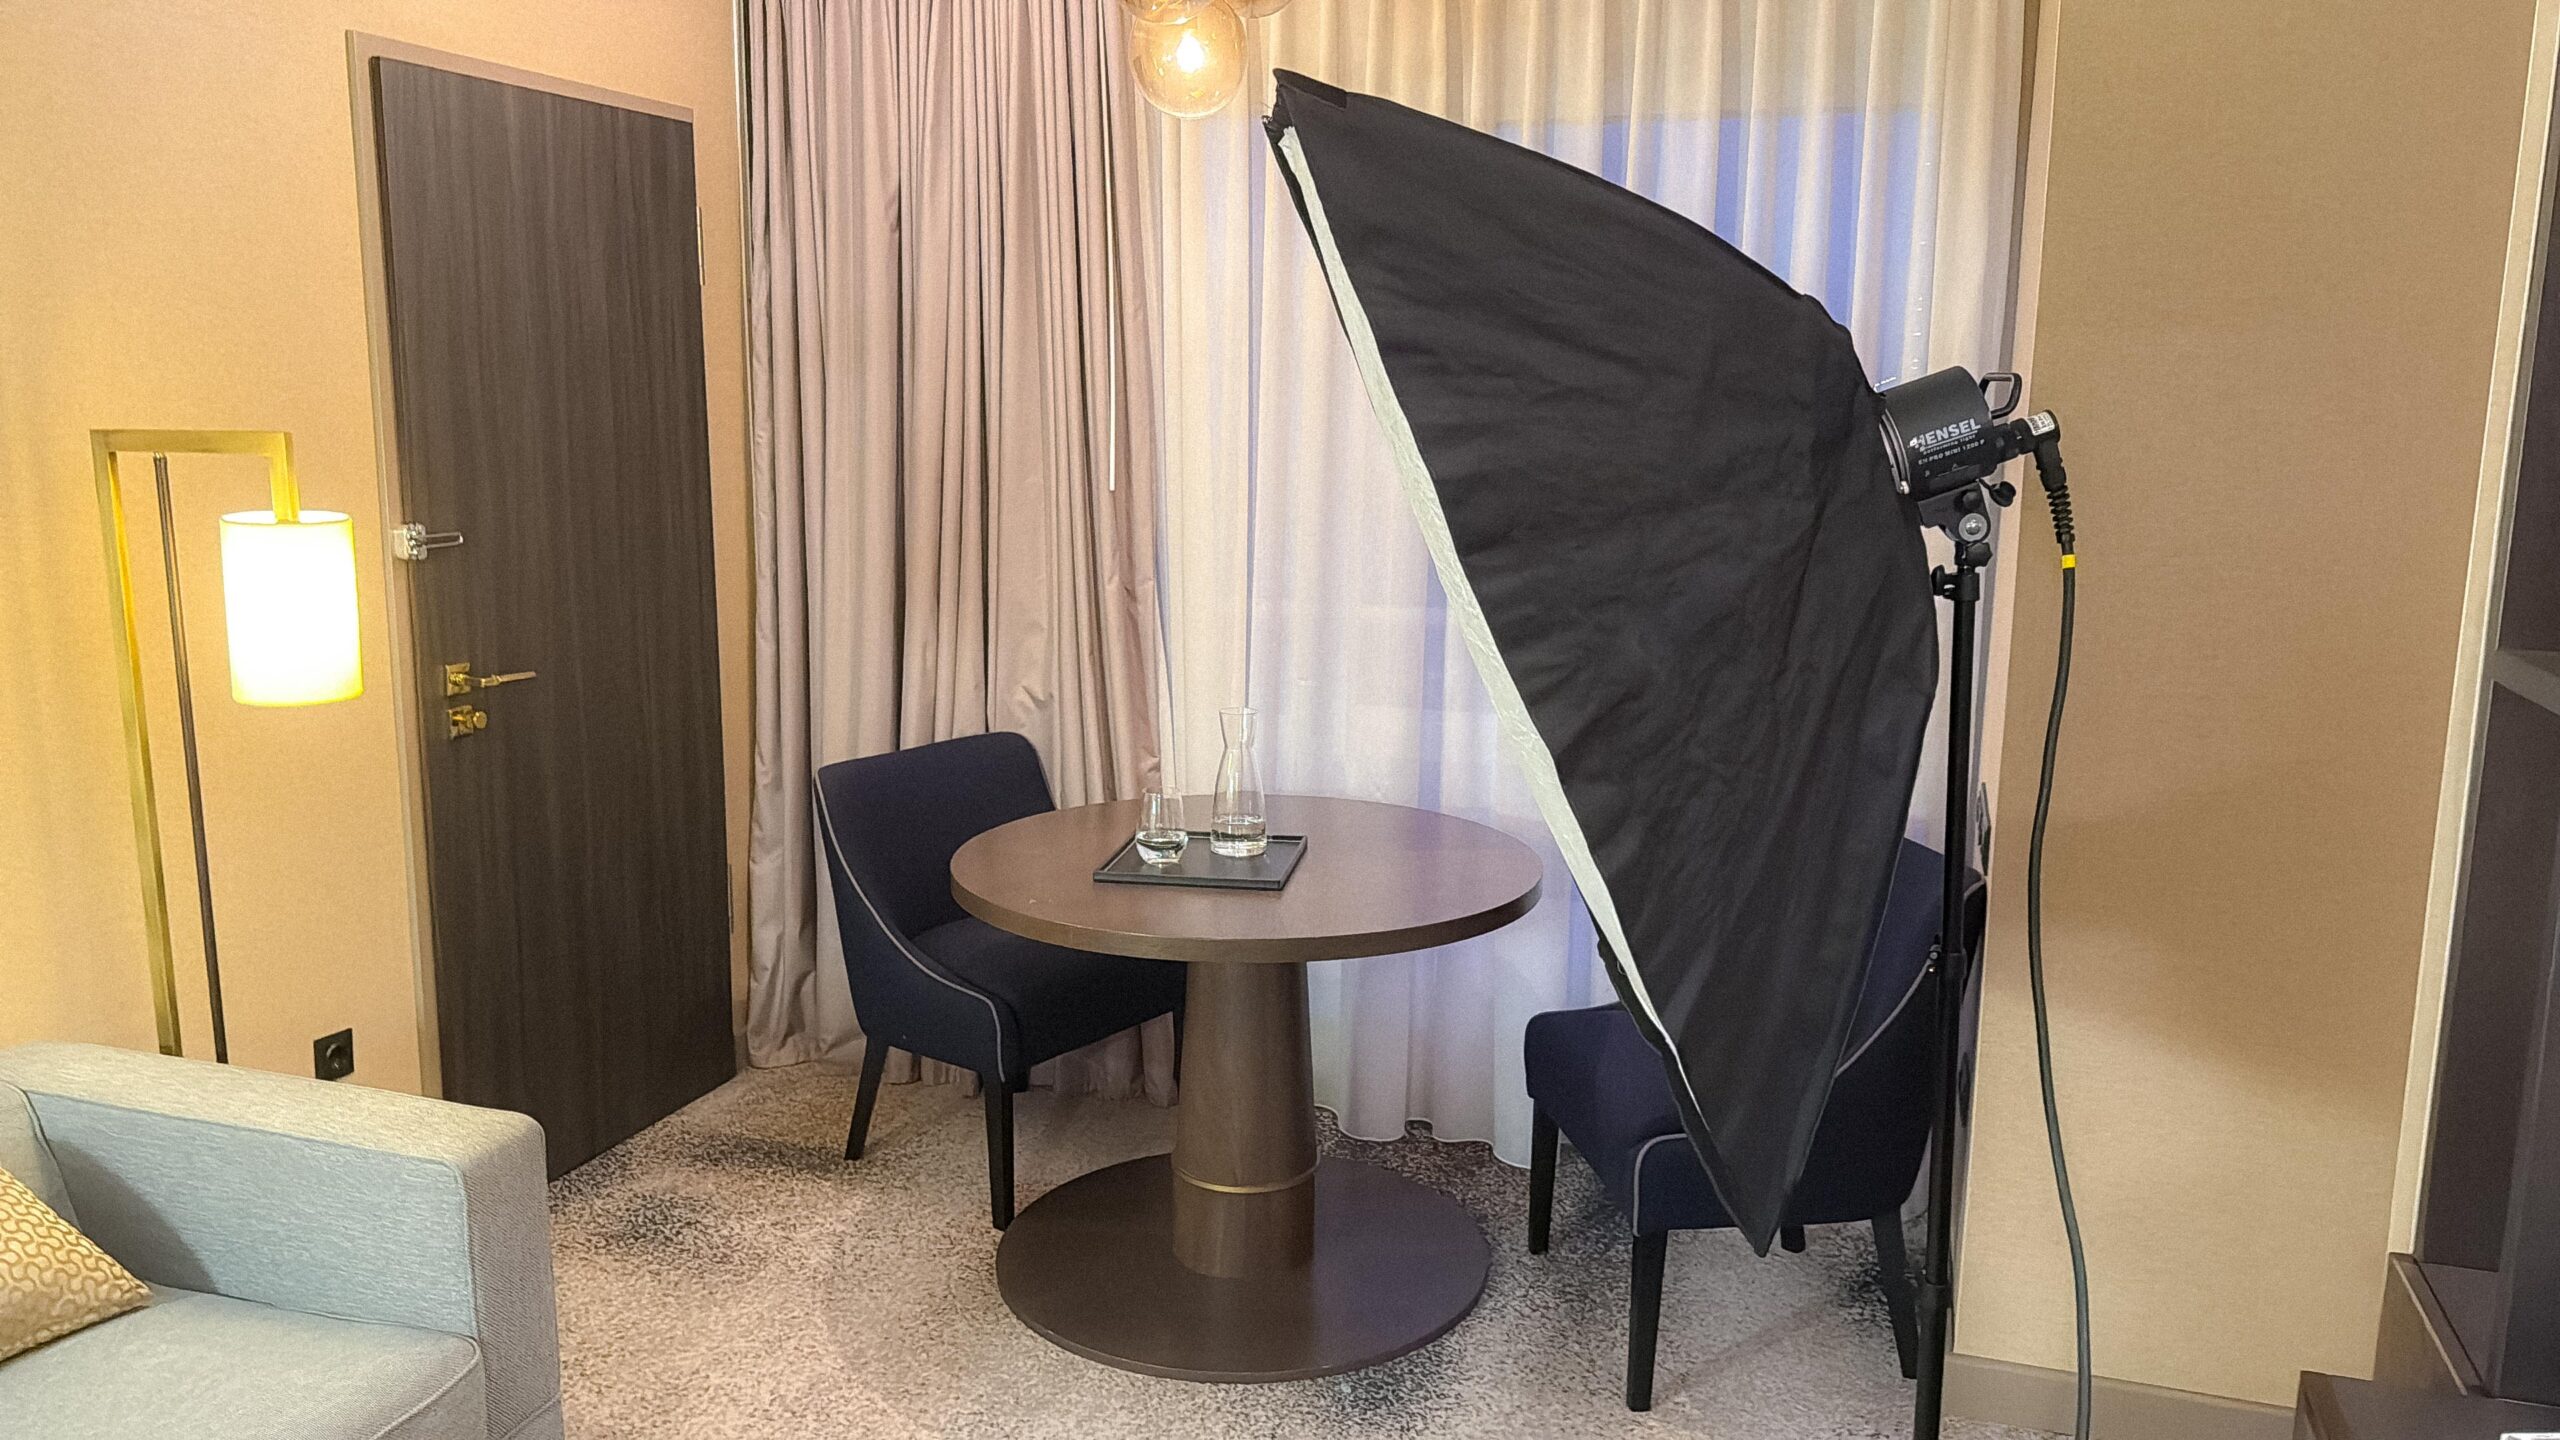
LED panel / video light (€60–200)
A small LED video light on a tabletop stand is more versatile than a ring light. Free directional control, often comes with a softbox attachment, usable as side or fill light. In the creator community, these compact lights are often combined with Practical Lights — visible light sources within the frame that are part of the scene itself, such as coloured LED strips in the background, a bedside lamp, or a switched-on TV. Practicals add depth, atmosphere and visual context that no hidden studio light can fake. Anyone producing regularly will find an LED panel a more flexible long-term choice than a ring light.
Reflector — or: white cardboard
A reflector bounces light back onto the shadow side and turns a 1-light setup into an even result. Buying one costs €10–20. Alternatively: prop up a large piece of white styrofoam or cardboard. Costs pennies — works like professional equipment.
What you can skip: Large “influencer light sets” with multiple panels, colour filters and matching apps. Most deliver nothing for their price that you couldn’t get from a window, a reflector and some practice.
Getting the most out of your smartphone
The best lighting setup means little if your smartphone keeps auto-correcting the exposure. These are the settings you need to know:
- Lock exposure: Press and hold your finger on the screen → lock symbol appears → focus and exposure are now fixed. Works on both iOS and Android.
- Set white balance manually: Often buried in standard camera apps. Apps like “Halide” (iOS) or “Open Camera” (Android) give you full manual control. This eliminates most colour casts.
- Prefer the rear camera: The front selfie camera is almost always inferior to the main camera. With a tripod and timer, the rear camera is the significantly better choice.
- Portrait mode — with caution: Software-generated depth-of-field looks good on simple subjects — but the algorithm struggles with hair, fabric and complex backgrounds. Always shoot both versions and compare afterwards. Note: many of these shots look great on a phone screen but fall apart on larger displays where the algorithm’s mistakes become visible.
- Maximum resolution: Always shoot at the highest available resolution. For direct export, JPG is more practical than HEIC.
Two setups that actually work
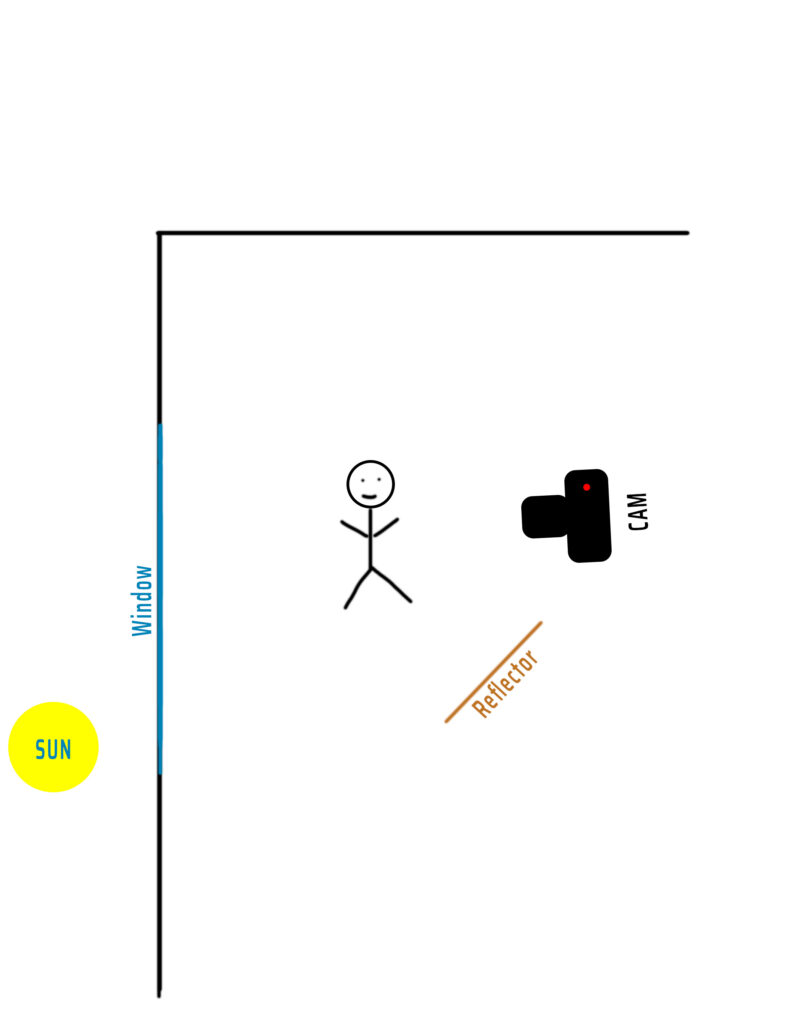
Setup 1: The window setup — €0
- Phone on tripod, directly in front of a large window — camera faces the window
- Position yourself 50–100 cm in front of the camera, so the window light falls on you from a front-lateral angle
- On the shadow side: place white cardboard or a reflector
- Switch off all ceiling lights
- Lock exposure manually, set timer to 3 seconds
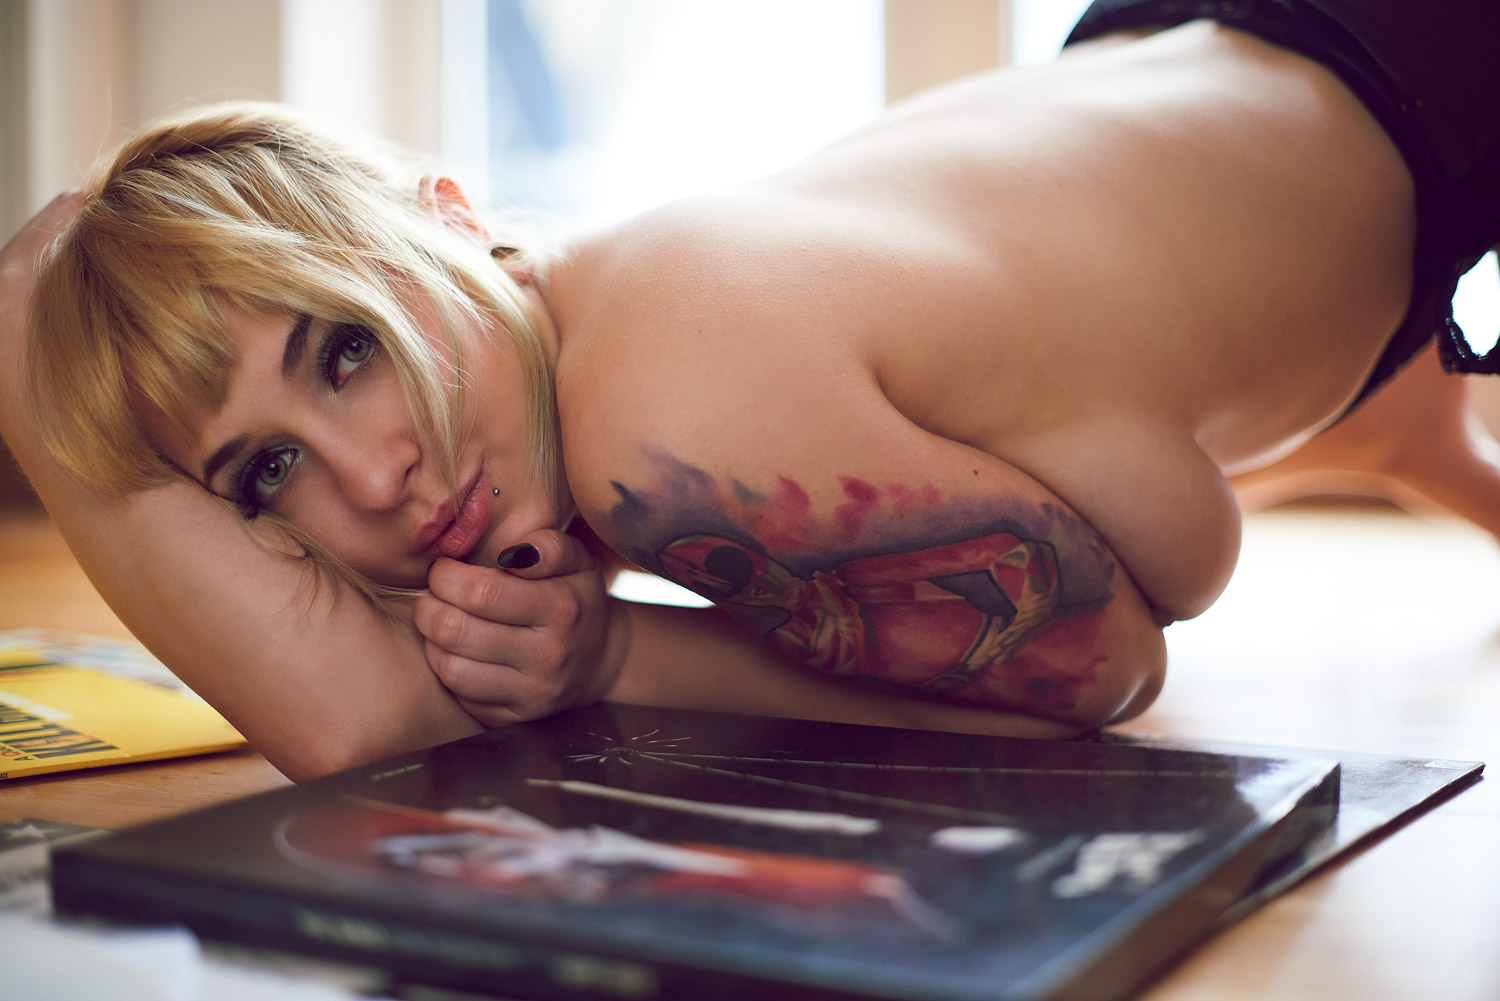
Result: Soft, even light with natural depth. Works beautifully for portrait, torso, full body- and pink shots — on an overcast day, barely distinguishable from a professional studio result.
Setup 2: The ring light setup — approx. €40
- Clip your phone into the ring light mount
- Alternatively, position the ring light slightly to the side (note: shadows will shift) and use a separate tripod for the phone in front of you
- Distance to subject: 1–1.5 metres
- On the opposite side: white cardboard as fill light
- Switch off ceiling lights and all other light sources
Result: Controllable, even light independent of time of day and weather. The ring light catch light in the eyes is the signature of this look and is immediately associated with online creator content — though it can also feel overused quickly, given how closely it’s linked to beauty vloggers. Use it intentionally, not by default or it easily looks cheap.
Where DIY hits its limits — and why that’s normal
These tips will genuinely get you further. With good natural light, a reflector and some practice, you’ll produce content that stands out from the crowd. No question about that.
But there’s a point where additional effort stops paying off — and it’s closer than you’d expect.
The equipment dilemma
A decent LED video light costs €60. A usable softbox to go with it: €30. A tripod: €25. You’re quickly at €150–200 — and that’s only entry-level equipment you’d never see on a professional set.
Go a step further and you’re spending several hundred euros — only to find the quality jump isn’t there. Because professional results require professional equipment. Lights like the ones we use at Sensual-media — from brands like Aputure or Godox — start at €1,000 per unit, without accessories. A solid professional tripod starts at €100, with video-grade tripods costing significantly more. What these devices deliver is simply beyond the reach of consumer equipment: constant colour temperature over hours, high CRI values (Colour Rendering Index) for true-to-life skin tones — and a light quality that holds up in post-production.
On top of that: equipment needs maintaining. It ages. It breaks. And every upgrade needs paying for. Professional equipment only pays for itself when it’s in continuous, high-level use. For a creator shooting, more complicated setups once a month, that equation rarely works out.
The quality gap in video
With photos, good light can compensate for a lot. With video, stabilisation, audio quality, depth of field and colour grading all come into play — areas where smartphones systematically hit their limits. A professionally produced video sounds different, moves differently, feels different. Subscribers notice immediately — even if they couldn’t put it into words. And especially with pay-per-view content, where subscribers are actively paying for individual clips, that perceived quality directly influences whether they buy.
💡 What professional production actually means
At Sensual-media we bring the complete setup to you — professional video lights with consistent CRI values, diffusers, reflectors, camera system, audio. We build the lighting that suits your location and your look. You focus on what you’re actually there for — we handle everything else. Discreet, professional, reliable.
Start with what you have
Start with natural light. It costs nothing and beats everything under €50. Learn the basics: light from the side, no mixed sources, lock your exposure. Then invest deliberately in a ring light or LED panel when you want more control and flexibility.
And when you notice your content has reached a level that needs a real quality leap — that’s the moment when pros with the right equipment make more sense than further DIY investment. That moment comes. Usually sooner than expected.
Ready to level up?
Whether it’s your first professional shoot or regular content production — we come to you with full equipment and creative guidance. First conversation is free and no-obligation.